Mesh networks on Android?
I wondered if lets say three Android phones can be used to build up a mesh network. So if a phone has a connection to at least one of the others, it should still be part of the network. No router, no internet required. In theory, this should work, each device has the needed hardware.
I know there is Serval, but that's not really what I am looking for: It is limited to the features they provide in their app. You wouldn't be able to use all the software out there, not even a browser. That's because they have re-implemented common protocols: They have MDP instead of UDP, and they have MSP instead of TCP.
Instead, I'm looking for a solution which just builds a normal MAC or IP network which then can be used by all apps out there. Also, there should be a possibility for a participant to act as a server, for example a Raspberry Pi.
Second, there is the 802.11s standard, which is used by the Google Wifi routers, however I wasn't able to find a software for it.
There is also ProjectSPAN / MANET, but they don't offer much documentation about how their technology works, plus it only works on the four devices they have made custom kernels for.
I've read about B.A.T.M.A.N. Advanced which seems to provide exactly what I need. However, even though it is part of the Linux kernel, it is disabled in Android. Also, it requires WiFi Ad-Hoc support, which is not available on Android for some reason. The Feature Request has been closed with the Status "Won't Fix (Obsolete)". Apparently Google doesn't think this is important.
I think it is, so I've decided to spend a week on this topic.
1. WiFi Ad-Hoc on Android
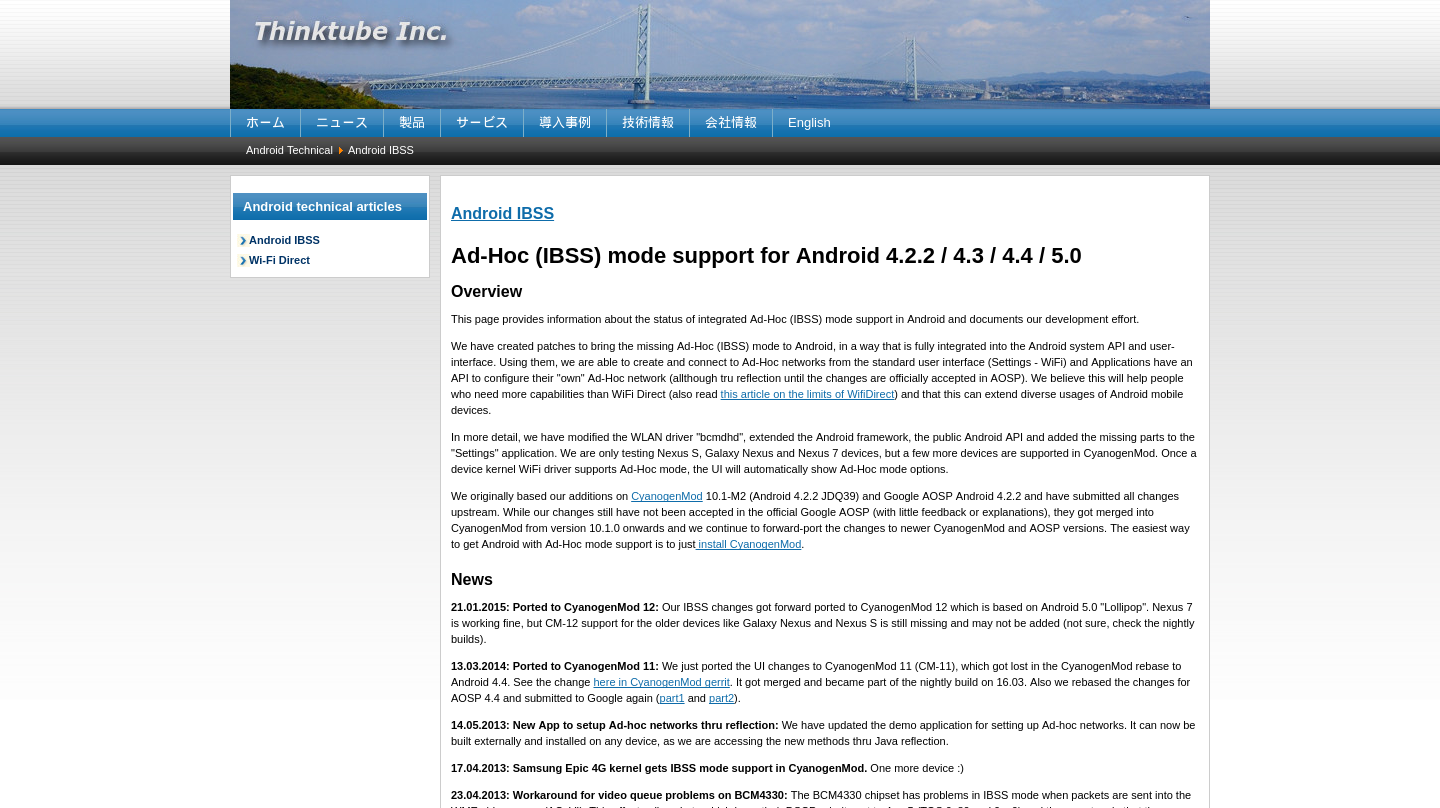
Luckily for me, there is a group called Thinktube Inc., which created a patch to enable WiFi Ad-Hoc on Android. It was even integrated into CyanogenMod builds. Hooray!
Small downside: only versions 4.2 up to 5.0.
So I've searched the Internet for the old CyanogenMod builds for my device, which is a Samsung Galaxy S4 i9505 (jflte). There are lots of instructions on how to flash a ROM, so I will keep this short. Note, you will lose all data on the phone. First, you need to install a custom recovery. I went with TWRP, which is the most common choice. I used my Windows machine and installed Odin. It didn't work on the first try, but after switching the USB port it did. Once TWRP is installed, you need to wipe (Dalvik Cache, System, Data and Cache) and install the zip. Next step: I need root access. I first installed the current LineageOS 14.1, because I wasn't aware WiFi Ad-Hoc is not supported anymore in this version. There is a file here which gives you access to su. For me, it was addonsu-14.1-arm-signed.zip.
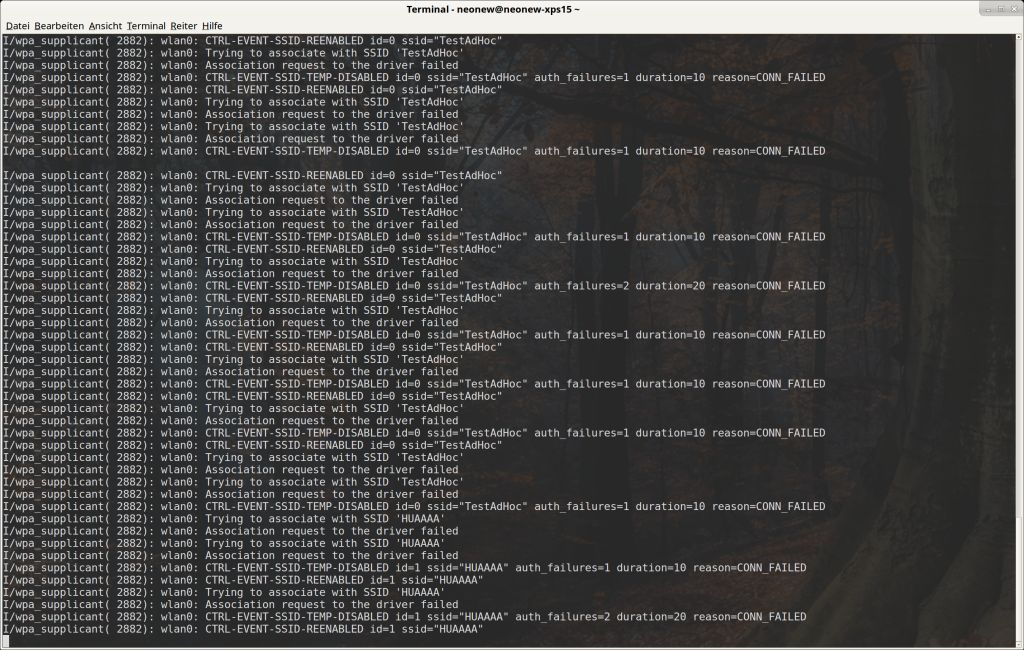
Since 14.1 doesn't support WiFi Ad-Hoc, I installed CyanogenMod 12, because this is the latest version which still does. However, after trying to create the Ad-Hoc WiFi, it turned out that it causes an error: "Association request to the driver failed", no matter what I've tried. Internet couldn't help me neither.
Close to desperation, I've installed the version before, CyanogenMod 11. To my surprise, WiFi Ad-Hoc worked! I was able to establish a connection to my laptop without any extra magic. Now I only needed to enable the batman-adv kernel module and I should be able to create a mesh network!
2. Building CyanogenMod from source
In order to change anything in CyanogenMod, I first need to build it myself. I did this for the very first time, so it was quite challenging. There are couple of guides for different devices out there, and I got lucky and found this one.
My first try did not even compile, that's because I first used a different guide and therefore I've missed the "./extract-files.sh" part. I've tested and played around with different versions and my phone had this version installed when I executed the script: lineage-11-20170709-UNOFFICIAL-jflte.zip
Once I got the files, the build took a long time and finally produced me a flashable zip file. I've used a virtual machine to build the sources. Use plenty of RAM (>4 GB) and SSD if possible. Note that the disk size exceeded 90 GB.
I was very excited when the build was finally successful and wasted no time to flash it onto my phone. Then the disappointment: The device didn't boot and was caught in the boot animation. Even after 15min it wasn't started, so I removed the battery.
I didn't know what the problem was, though, and it is not easy to find out: Once you flash a new image and wipe all caches, all known devices to adb are deleted. So the boot animation is shown, but I am not able to connect to the device (adb says "Unauthorized") and therefore also can't view the log files.
I tried to flash a working ROM first, grant access to adb and then flashed my ROM without wiping. Then I am able to view the log files which looks like this:
V/CameraWrapper(  222): check_vendor_module
V/CameraWrapper(  222): camera_get_number_of_cameras
V/CameraWrapper(  222): check_vendor_module
V/CameraWrapper(  222): camera_get_number_of_cameras
V/CameraWrapper(  222): check_vendor_module
V/CameraWrapper(  222): camera_get_number_of_cameras
V/CameraWrapper(  222): check_vendor_module
V/CameraWrapper(  222): check_vendor_module
V/CameraWrapper(  222): camera_get_number_of_cameras
V/CameraWrapper(  222): camera_get_number_of_cameras
V/CameraWrapper(  222): check_vendor_module
V/CameraWrapper(  222): camera_get_number_of_cameras
V/CameraWrapper(  222): camera_get_number_of_cameras
V/CameraWrapper(  222): camera_get_number_of_cameras
V/CameraWrapper(  222): camera_get_number_of_cameras
V/CameraWrapper(  222): camera_get_number_of_cameras
V/CameraWrapper(  222): check_vendor_module
V/CameraWrapper(  222): check_vendor_module
V/CameraWrapper(  222): check_vendor_module
V/CameraWrapper(  222): check_vendor_module
This goes on for 1.7 MB. To me it indicates that the binary blogs I gathered with the "./extract-files.sh" script doesn't work with the kernel I use. That's just a guess, but I don't really know how to go on from here. I probably try to use all different blobs I find on the internet and on the working CyanogenMod versions I've downloaded.
One very good thing I've noticed: The kernel sources contain a batman-adv directory, so once I'm able to build a working version it hopefully is very easy to activate.
3. Todos
- Get a self-compiled, working CyanogenMod build
- Enable batman-adv
- Provide a basic GUI to connect to a batman-adv network
- Make a patch for WiFi Ad-Hoc for the current LineageOS (so it is not limited to Android 4.4)
- Check limitations of batman-adv: How does it scale in big networks?